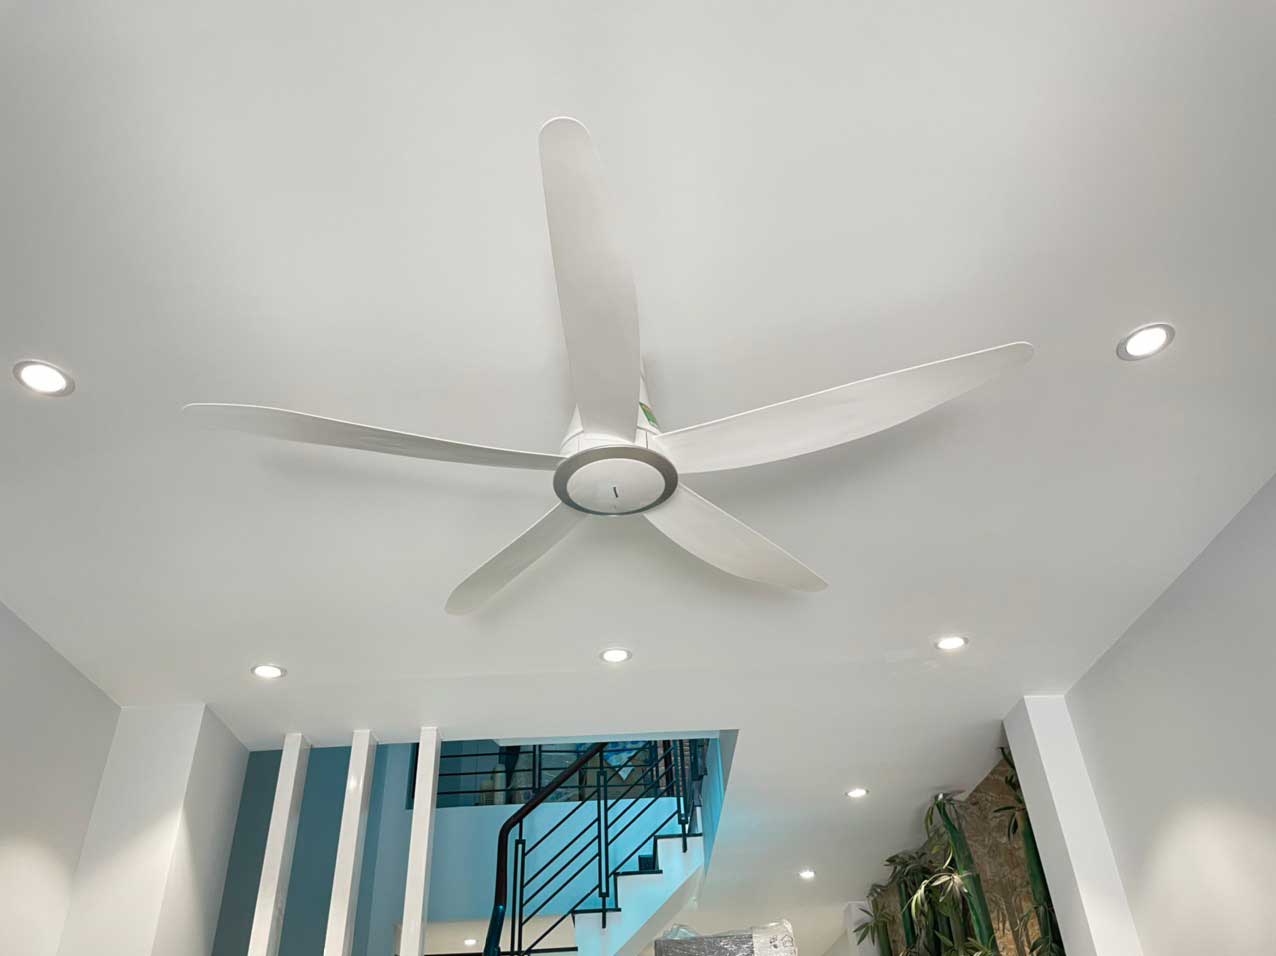
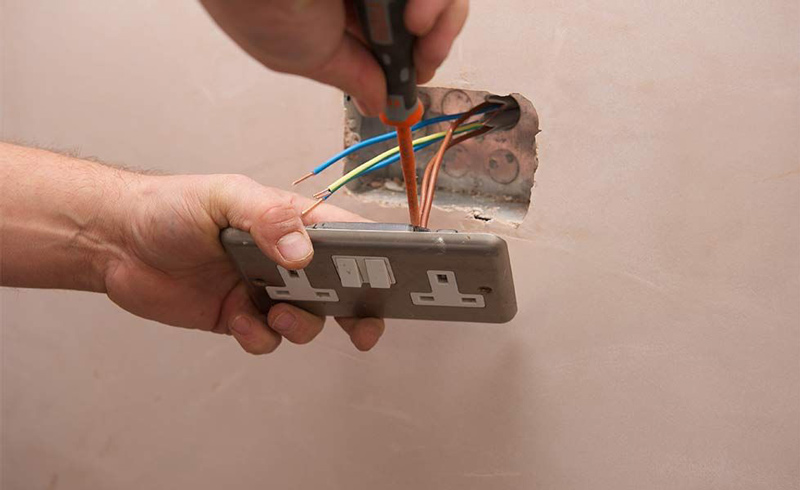
Ceiling fans are a very popular product used today. Not only helps to create wind and cool, but also as a decoration to beautify the house. However, when buying, many people have to hire workers to install, so it costs a lot of money. Today, Tran Phat will share with you ways to install a celling fan a super simple to save you money.
Mục lục
1. About ceiling fans
A ceiling fan is a household appliance commonly used to help create cool and comfortable air in indoor rooms or commercial spaces. Compared to other types of fans, ways to install a celling fan is much more complicated.
Ceiling fans are usually ceiling mounted and work by rotating the blades to create a flow of air. The propellers are mounted on a rotating shaft and are rotated by an electric motor to rotate.
Ceiling fans can be controlled by a wall switch or by a remote control. Many ceiling fans also have a reversing feature, which allows the fan to rotate in reverse to push air up to the ceiling and create winter comfort.
There are different types of ceiling fans on the market, with different styles and materials. Some ceiling fans are also designed to match the home’s interior décor, providing a piece of the room’s aesthetic.
READ MORE: CEILING FAN AND ITS ADVANTAGES
2. Check the elements before installing the ceiling fan
In fact, installing a ceiling fan is not as difficult as many people think. However, before installing, you need to keep the following things in mind.
2.1. Check the room size and ceiling
Before installing a ceiling fan, you should check the size of the room and ceiling to make sure the ceiling fan is suitable for the space.
- First, you should measure the size of the room to determine the size of the ceiling fan to buy. Ceiling fans come in many different sizes, so you need to choose the right size for the area of the room. A ceiling fan that is too large can make a room look cumbersome or too small to be able to cool the room.
- Then you should measure the ceiling size to determine the installation location and height of the ceiling fan. If the ceiling is too low or too high, you may not be able to install the ceiling fan. Then use a hanging fan or an island fan. Because if the ceiling fan is too low, it can be dangerous for the user.
2.2. Check power lines and installations
In addition to checking the size of the room and ceiling, you also need to check the power lines and ceiling fan installation before installing.
- First, you need to determine where to install the ceiling fan on the ceiling. This place needs to ensure enough space to install ceiling fans and ensure safety for users. You need to choose an installation that is suitable for the ceiling structure and ensures the durability of the ceiling fan.
- Then, you need to check your home’s electrical lines and electrical system to make sure there is enough power to use the ceiling fan. If you are unsure about electrical testing, you can ask an electrical professional to check and install it for you.
- You also need to check that the place where the ceiling fan is installed is strong enough to support the weight of the ceiling fan. If not, you need to add supporting details to ensure user safety.
3. Instructions on ways to install a celling fan
How to install ceiling fan is carried out through the following steps:
3.1. Choose the type of fan that suits your space and needs
Before proceeding with the installation, you should find and choose to buy a ceiling fan product suitable for the area, room space and usage needs. This will avoid waste while ensuring safety during use.
3.2. Install the hanging plate and fan clip on the ceiling
- First, you need to install the hanging panel on the ceiling. This hanging plate helps to connect the ceiling fan to the ceiling. You need to make sure the mounting plate is securely attached and strong enough to support the weight of the ceiling fan.
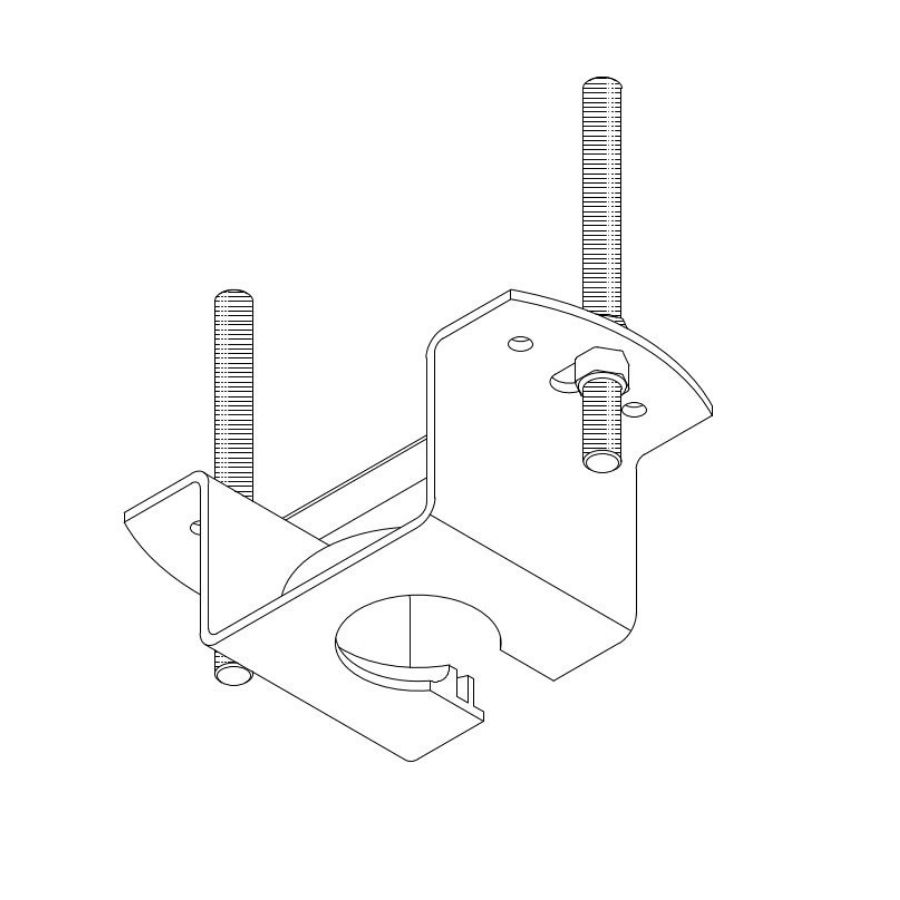
- Then you need to attach the fan clamp to the mounting plate. This fan clip holds the ceiling fan in a fixed position on the ceiling. You should make sure the fan clamp is firmly attached and in place on the mounting plate.
3.3. Steps to install the stand and propeller
The steps to install the base and ceiling fan are as follows:
- Step 1: First, place the fan base on the ground, then attach the support bars to the base and string the power cables to the supports.
- Step 2: Next, you need to place the fan on the base and use the nuts to fasten the fan to the base. Make sure that the fan is properly positioned on the stand and is not deflected.
- Step 3: After fastening the fan on the stand, you can start mounting the blades. Place the blades in place on the fan and use the nuts to secure them. Make sure that the propellers are fastened and level with each other.
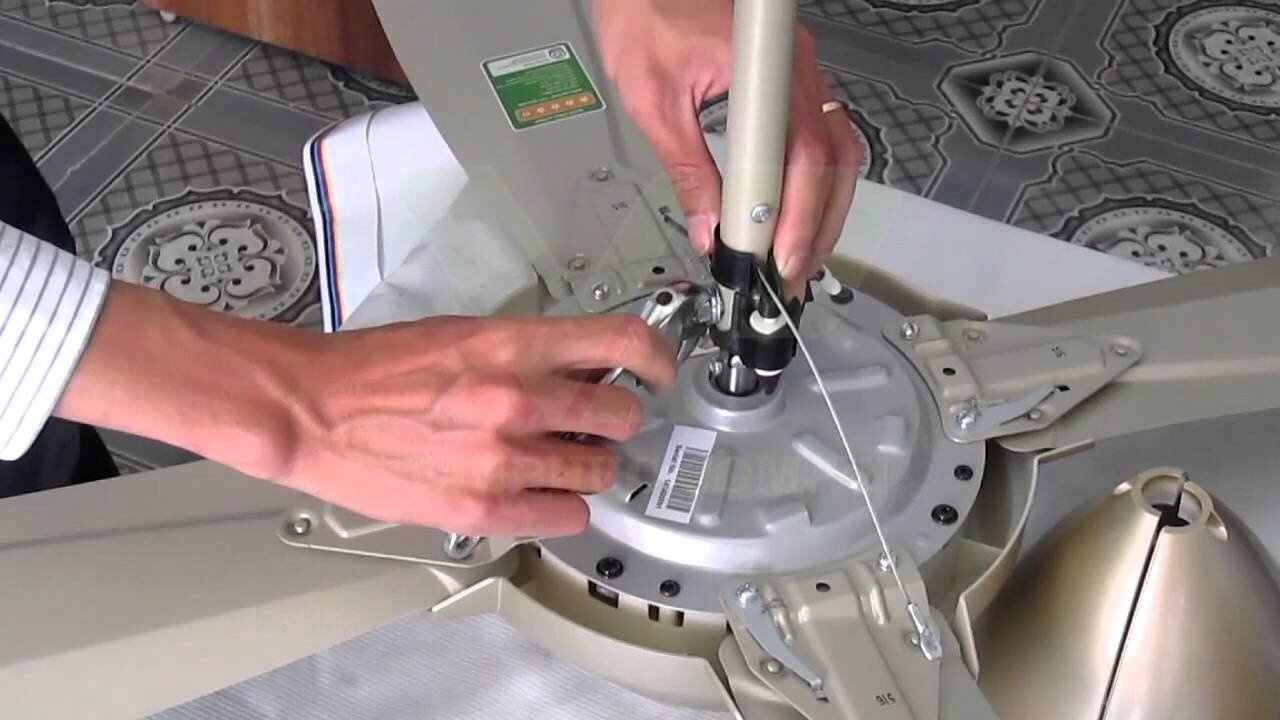
- Step 4: Once the fan blades are fastened, you can install a controller or control switch to control the fan. Make sure that the power cords are properly and securely connected.
- Step 5: Finally, you should check the ceiling fan again and make sure that all components are installed securely and working properly. If there is any problem, you should disassemble and check again to ensure the safety of users.
3.4. How to install the controller part and lights (if any)
If your ceiling fan comes with a controller or you want to add control functionality to the ceiling fan. You can install the ceiling fan and light controller by following these steps:
- Step 1: Turn off the power before starting to install the controller and lights.
- Step 2: Remove the outlet cover on the ceiling fan to access the power cord. Check the electrical wires again to make sure they are not damaged or peeling.
- Step 3: Attach the fan control wires and lights to the wires on the ceiling fan. Usually the wire colors will be marked on the controller and on the ceiling fan. Make sure the connection is correct according to the manufacturer’s instructions.
- Step 4: Install the ceiling fan controller and lights in place as instructed in the installation manual. If your controller is installed in the terminal cover, make sure that the terminal cover is firmly attached and not loose.
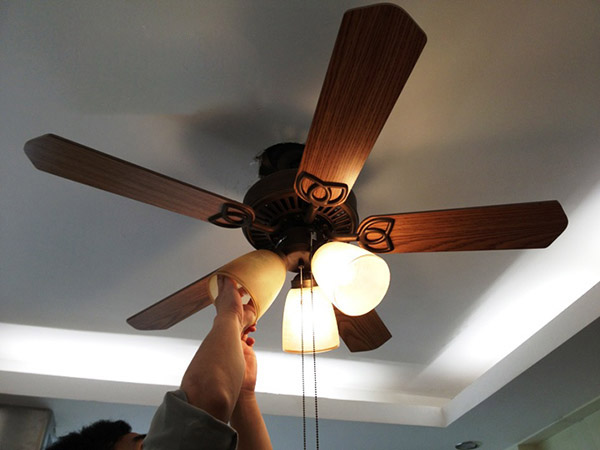
- Step 5: Attach the electrical outlet cover back to the ceiling fan.
- Step 6: Check the controller and lights again to make sure they are working properly.
- Step 7: Turn on the power to check all ceiling fans and lights. If everything is working properly, you have completed the installation of the ceiling fan controller and lights.
READ MORE: WALL FAN AND IT’S BENEFITS
3.5. Double check the whole installation process.
Finally you check the whole installation process again. Make sure the ceiling fan is securely fixed on the mounting plate. Then turn on the switch to check the fan operation.
Above we have shown you ways to install a celling fan to ensure that anyone can install it. However, in order to ensure the long life of the fan, it is advisable to pay attention to the quality of the product when buying. Contact Tran Phat to buy good fan products at the most favorable price.
FOR MORE INFORMATION PLEASE CONTACT
TRAN PHAT PRODUCTION – TRADING – SERVICE ONE MEMBER CO., LTD
🏢 346A Tan Hoa Dong, Binh Tri Dong Ward, Binh Tan District, City. HCM City
☎️ Hotline: 028 6269 5792
📧 Email: info@tranphat.net.vn
🌐 Website: https://tranphat.net.vn
🇫 Fanpage: https://www.facebook.com/congtytranphat
🗾 Maps: https://g.page/r/CaRJcQ1kHoBrEBA


 Wall Fan
 Orbit Fan
 Slide Fan
 Stand Fan
 Box Fan
 Ventilation Fan
 Industrial Fan
 Wall Fan
 Orbit Fan
 Desk Fan
 Slide Fan
 Stand Fan
 Box Fan
 Mop Kit
 Mop
Mop