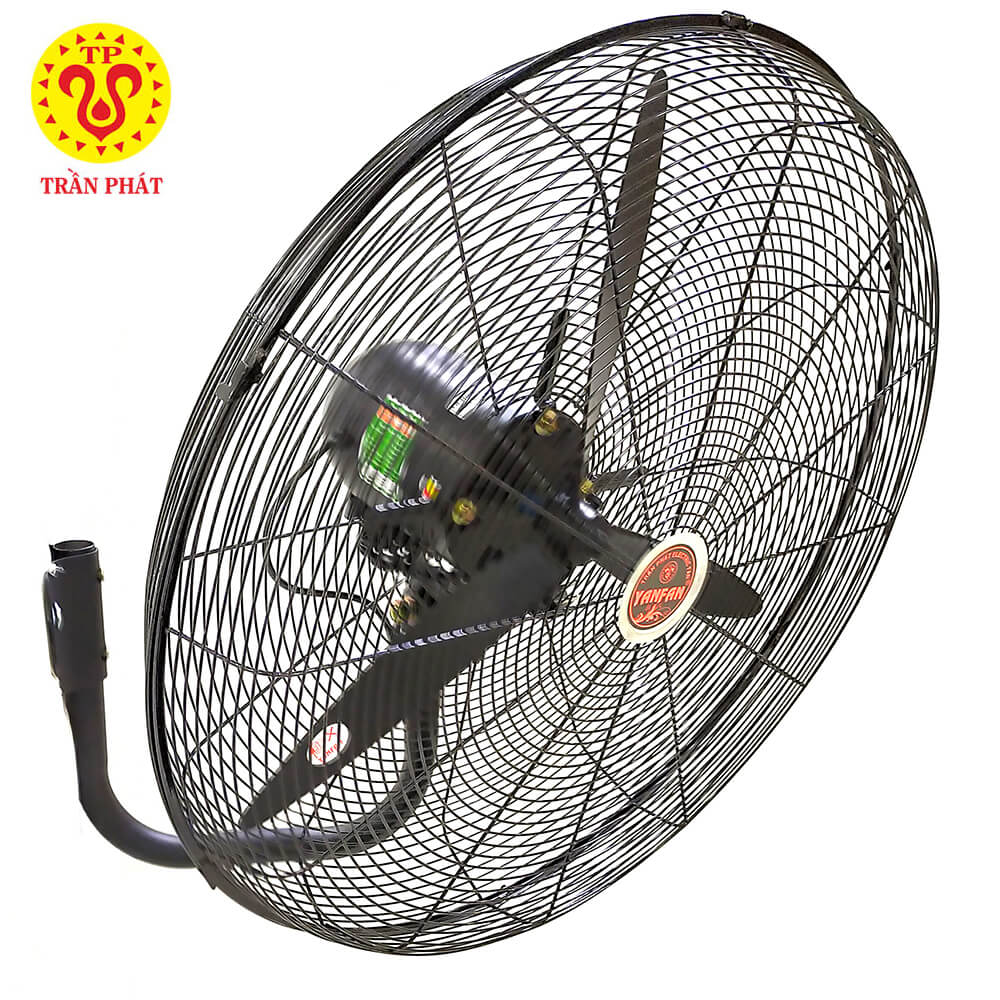
Wall Fan
 Orbit Fan
 Slide Fan
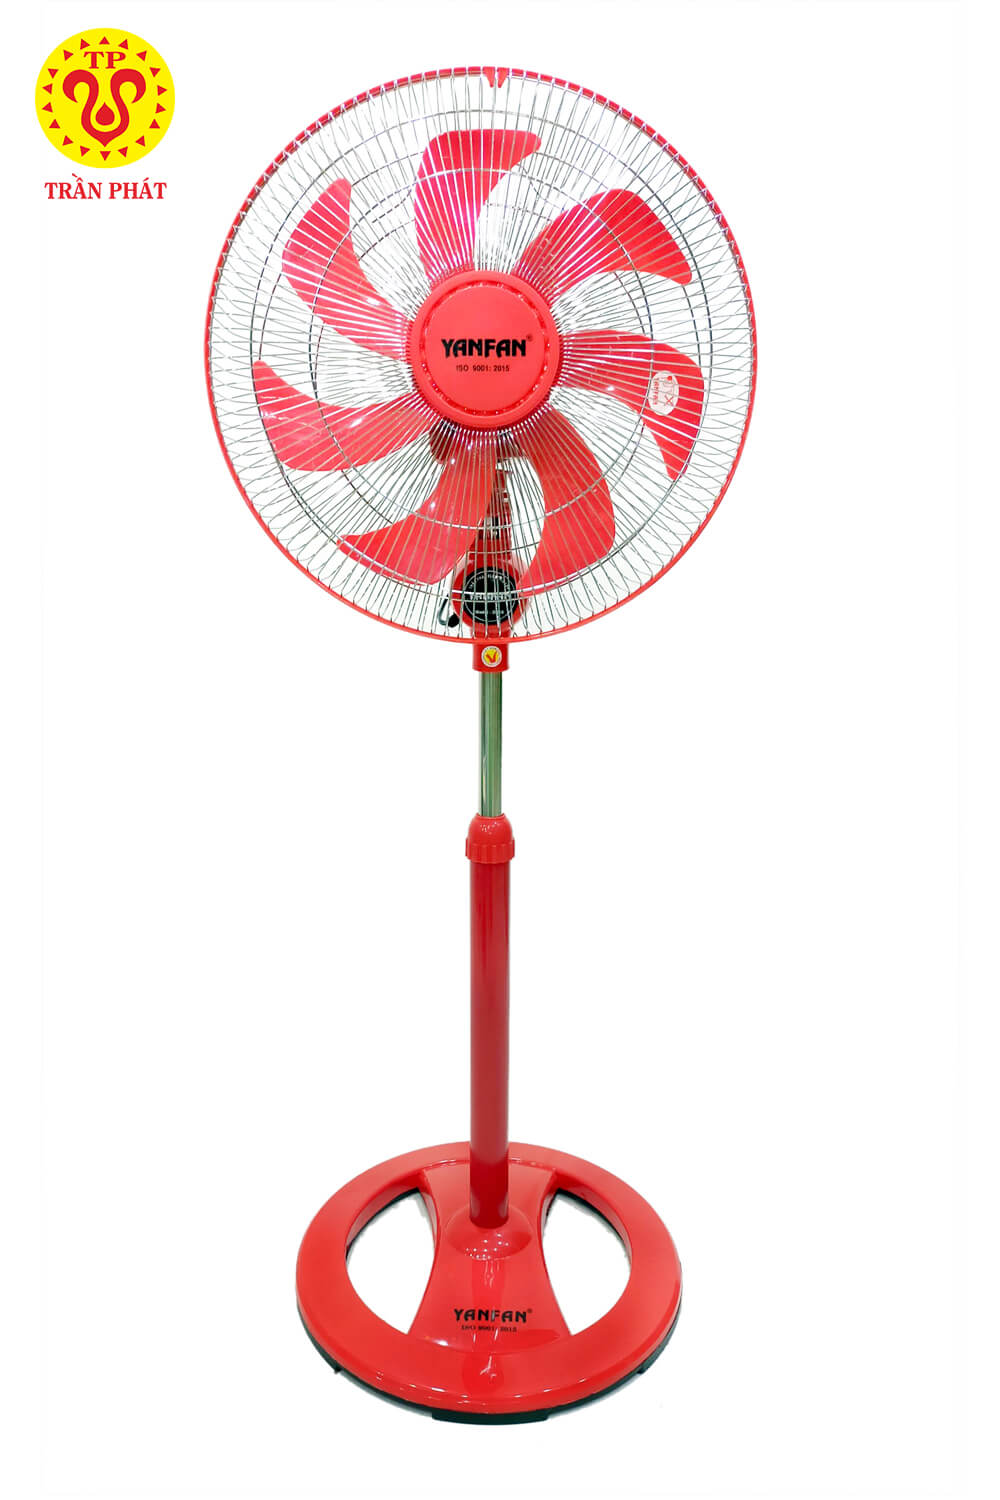
 Stand Fan
 Box Fan
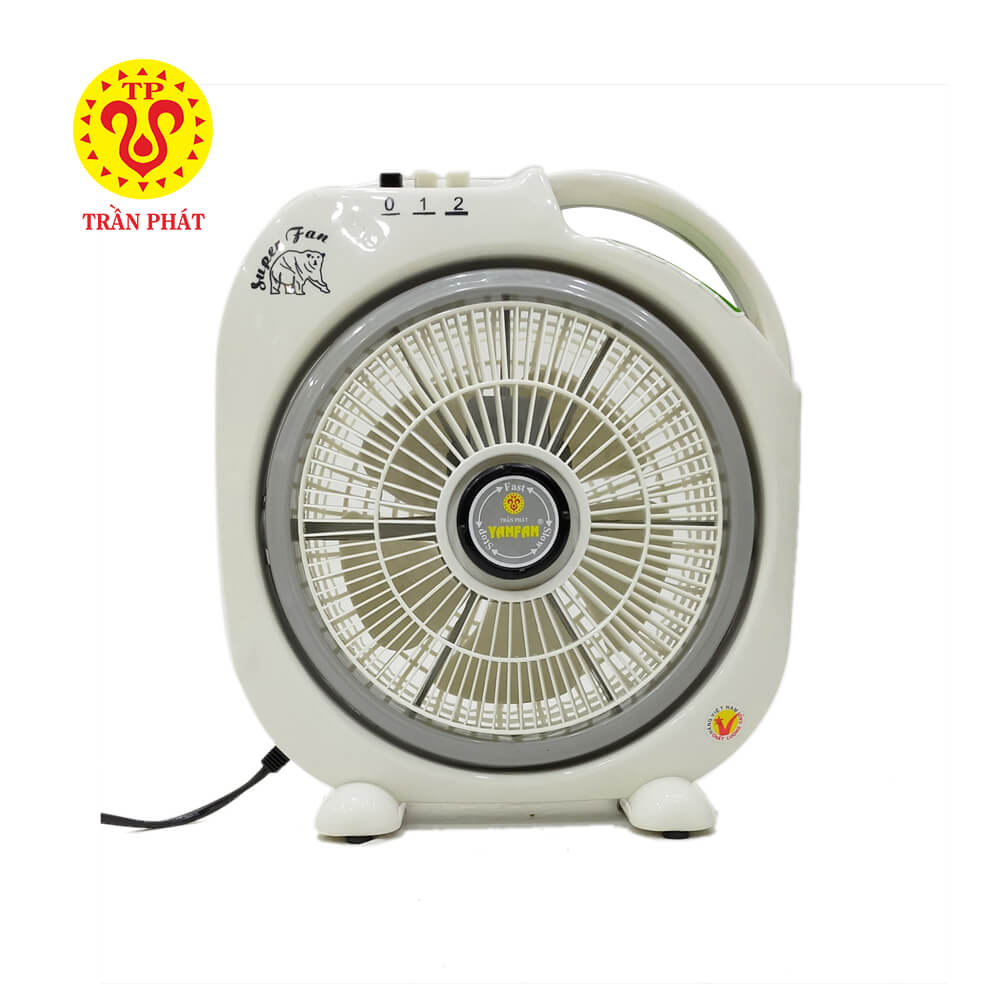
 Ventilation Fan
 Industrial Fan
 Wall Fan
 Orbit Fan
 Desk Fan
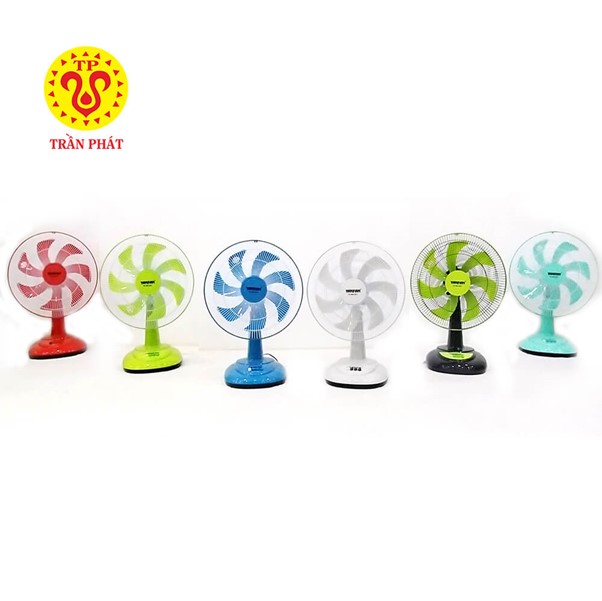
 Slide Fan
 Stand Fan
 Box Fan
 Mop Kit
 Mop
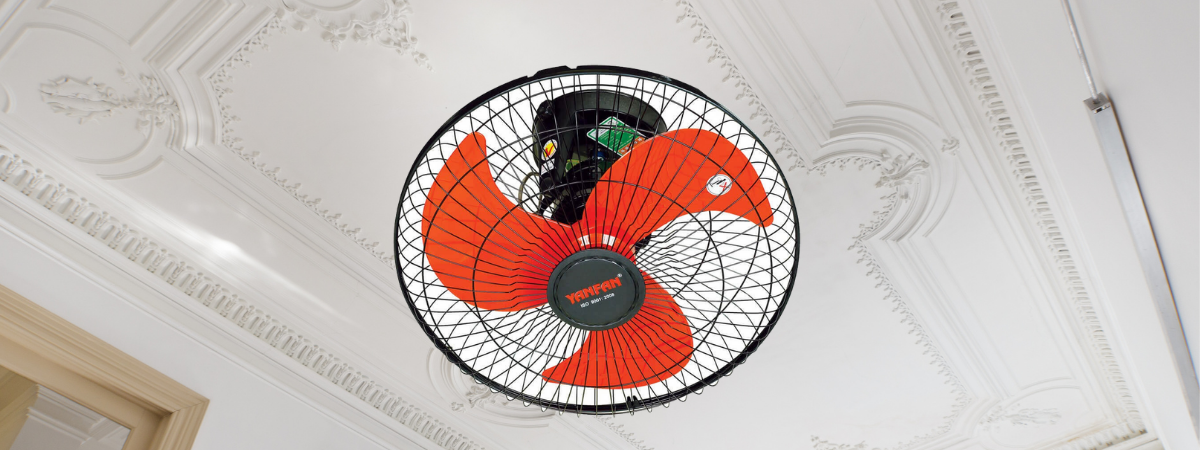
MopCleaning to clean the wall fan is essential to keep the fan looking good. But in addition to ensuring the aesthetic value of the fan, what is the reason to clean the fan? Today’s instructions for cleaning hanging fans will answer your questions.
Mục lục
1.Why should I clean the hanging fan?
Before we start cleaning the wall fan, we want you to understand why it is important to clean the fan regularly.
- Ensure aesthetic value: This is the first reason why you need to clean the fan regularly. When you use the fan for a while, dirt will stick on the fan. This greatly affects the value of the fan and living space.
- To make the fan work more efficiently: Too much dust and dirt on the fan will make the fan less efficient. Wind speed is not as cool as before.
- Extend the life of the wall fan: The accumulation of dirt on the fan parts. Especially in the rotating shaft and fan components, if dusty, it will be damaged quickly. Because cleaning is necessary to help prolong the life of components and fans.
- Ensure good health: When dirt clings to the fan when the blades create wind, some dirt will fly out. In the direction of the wind, dust will fly towards us, which will affect our health. So cleaning the fan is also a way to protect ourselves.
2. Instructions for cleaning hanging fans properly
When the wall fan is dirty, you need to instructions for cleaning hanging fans for cleaning the hanging fan by following these steps:
2.1. Remove the hanging fan from the wall
Because the fan is hung on the wall , to clean the fan you need to remove it from the wall.

2.2. Remove the fan cage and impeller from the fan
Next you will proceed instructions for cleaning hanging fans to remove the fan cage and propeller from the fan. The order of dismantling starts from the front fan cage to the fan blade and rear fan cage.
- First you remove the fan cage first by removing the protective plastic ring. Then remove the fasteners and then lift the cage first from the fan.

- Next is to remove the propeller: To remove the propeller you need to screw the plastic cap at the top of the cylinder. If you turn the cap clockwise, the cap will come off the cylinder. Then pull the propeller out of the fan column.

- Removing the rear fan cage: The rear fan cage of different manufacturers will be installed differently. Some fans only latch on with a plastic ring, some fans use screws. You base on the structure of the fan that has a suitable removal method.
2.3. Cleaning fan parts
After removing the parts from the fan, you proceed to clean the parts according to the instructions for cleaning the hanging fan. For fans with little dust, just wipe it with a clean cloth. But with too dirty fans, you should use water mixed with washing powder to wash. After washing, dry the fan cage and fan blades to get rid of the water.


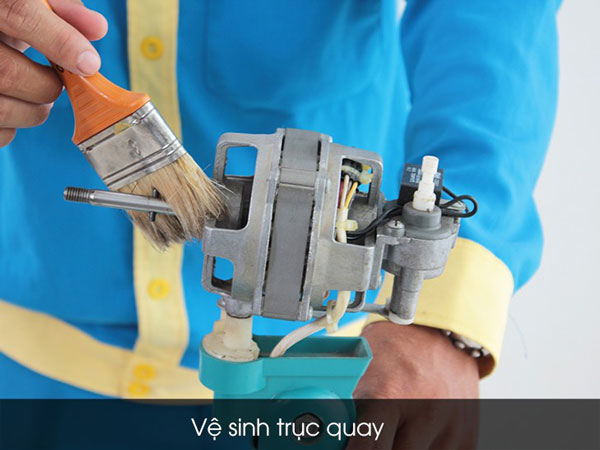
As for the shaft and fan components, use a dusting brush and a clean cloth. Absolutely do not wash with water because when wet, it is easy to cause the fan to short or run.
2.4. Oil the shaft
After cleaning the fan parts, you need to check if the fan shaft is stiff. According to the instructions for cleaning the wall fan, if the fan shaft is stiff, the fan will rotate very slowly. This makes the fan’s ability to generate wind is limited, it will not be cool. At this point you use machine oil to apply to the shaft where it comes in contact with the silver.

You can plug the fan into an electrical outlet and let the fan spin slowly while oiling. Oil will automatically enter the bearing. This will make the fan operate smoothly and smoothly and the wind will be cooler.
Assemble the parts as they were
After completing the above works, you proceed to install the fan parts in the correct position as the original. Remember, which part is removed later, installed first. Specifically, the rear fan cage will be installed first, followed by the propeller and front fan cage.
3.Things to note when cleaning hanging fans
When cleaning, in addition to following the instructions for cleaning hanging fans , you need to pay attention to the following issues:

- Turn off the power completely during cleaning to ensure safety.
- It is necessary to dry all fan parts when reassembled.
- Do not use harsh detergents to clean the fan parts.
- It is recommended to clean and clean the fan at least once a week to ensure that the fan is always beautiful and working at its best.
- Maintenance of the fan should be done once a month, because the fan’s parts after a period of operation will run out of oil and will not operate smoothly.
It is not too difficult to clean the dusty fan. You just need to follow the instructions for cleaning hanging fans properly. Remember to clean the fan regularly to help the fan work efficiently.
See more: Top 4 best-selling Yanfan 2-wire hanging fans in September 2021
FOR MORE INFORMATION PLEASE CONTACT
TRAN PHAT PRODUCTION – TRADING – SERVICE ONE MEMBER CO., LTD
🏢 346A Tan Hoa Dong, Binh Tri Dong Ward, Binh Tan District, City. HCM City
☎️ Hotline: 028.5407.7633 – 28.62695792
📧 Email: tranphat@yanfan.com.vn
🌐 Website: https://tranphat.net.vn
🇫 Fanpage: https://www.facebook.com/congtytranphat
🗾 Maps: https://g.page/r/CaRJcQ1kHoBrEBA